Simple Handmade Origami Book-Style Box
Materials Needed: Two sheets of 15×15 cm colored origami paper, a glue stick, and scissors.
Making the Inner Box: Take one sheet of paper and fold it repeatedly to create horizontal, vertical, and diagonal creases; fold the four corners toward the center, tuck the edges inward along the creases, and shape it into a square storage box.
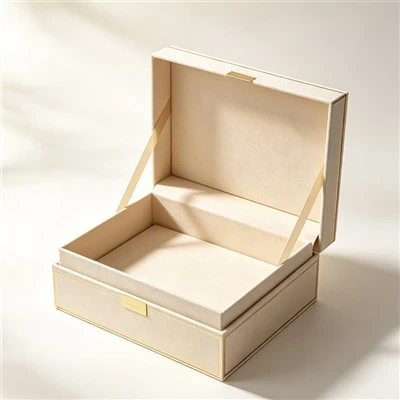
Making the Book Cover: Fold the second sheet of paper in half along the centerline, then fold both sides toward the center again; secure the inner box to one end of the paper, wrap the other end completely around the box, and glue the edges firmly.
Adding a Closure: Cut two thin strips of paper and attach them to the front and back of the cover to create a closure mechanism, completing the simple book-style box.
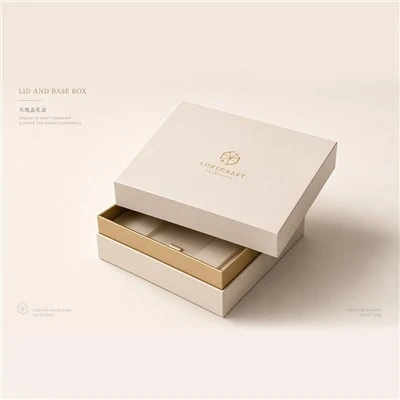
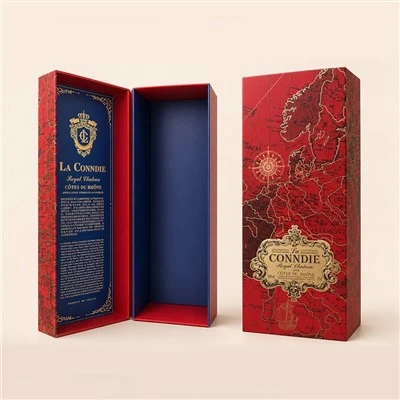
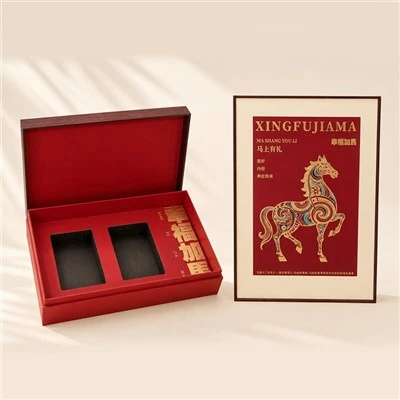
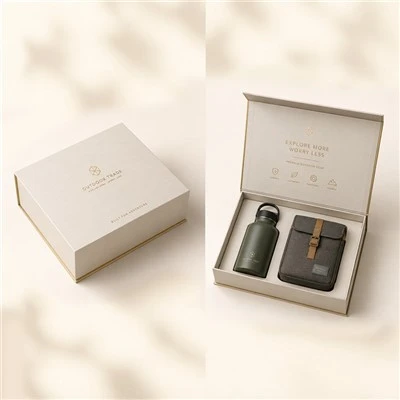
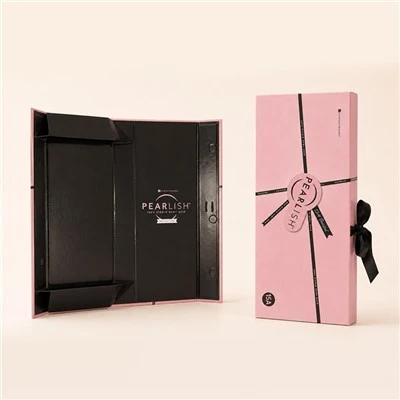
Industrially Printed Book-Style Gift Box
Preparation: Prepare coated paper or specialty paper, a cutting machine, a creasing machine, and eco-friendly adhesive; output the printed flat layout with a 3–5 mm bleed margin.
Post-Printing Processing: After printing the design, apply lamination and hot foil stamping (gold or silver) to enhance the box's texture and quality.
Forming and Assembly: Precisely cut the board materials (keeping the margin of error within 1 mm), crease the board to match its thickness, glue specific points to secure the box's basic structure, and install the foam or EVA insert.
Adjustment and Finishing: Align the lid with the main body, test the magnetic or mechanical clasp for smooth operation, and finally inspect and touch up any edge imperfections to produce the finished gift box.