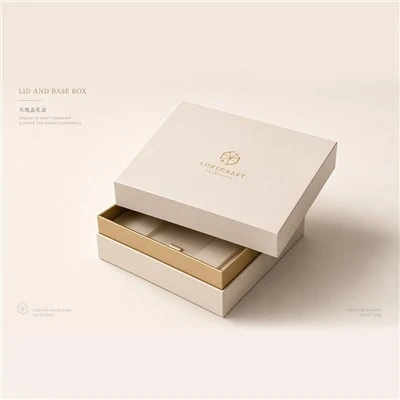
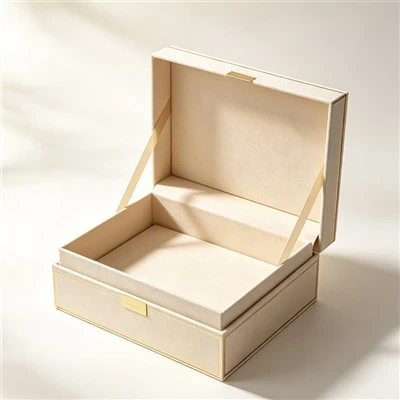
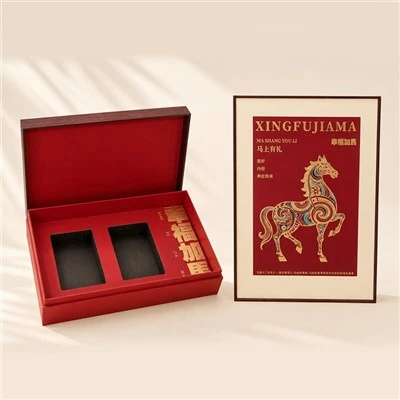
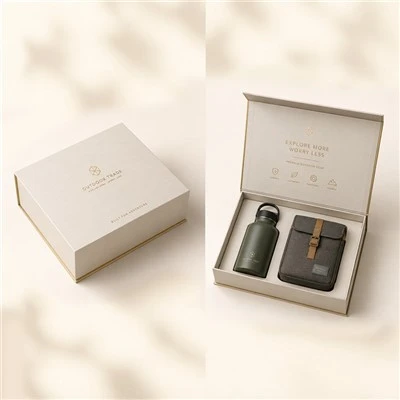
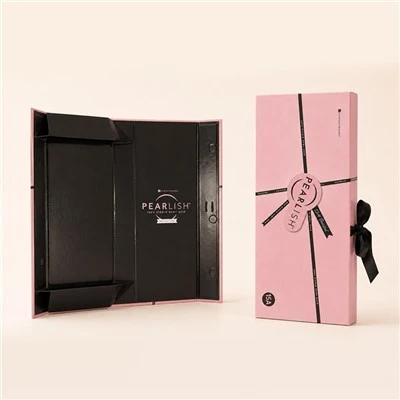
Preliminary Design and Material Selection
Precise Dimensional Planning: Account for paper thickness during design to ensure the finished box accommodates the intended contents. For custom-shaped boxes, draft specific cutting lines; use the CMYK color mode and a resolution of at least 300 dpi for all imagery.
Material Selection: Pair greyboard (2mm+ thick) with specialty facing paper for high-value or fragile items; prioritize food-grade PP/PET materials for fresh food; and consider anti-static coated kraft paper for electronics to balance protective needs with usage requirements.
Core Gluing and Assembly Processes
Liner Paper Lamination: Align the box board (with 12% moisture content) and liner paper along the registration edge. Apply an adhesive mixture (white glue to water ratio of 3:1) evenly, then press at 20 MPa for 5 minutes to prevent liner wrinkling or glue seepage.
Forming and Outer Wrap Application: Apply glue to the die-cut box board to assemble the box structure, securing it with rubber bands while drying to ensure seamless corners. Evenly apply adhesive to the facing paper, align it precisely with the box structure, and fold the four edges at 90-degree angles. Smooth the edges and corners with a scraper, then use a soft cloth to press out trapped air, preventing bubbles or glue stains.